|
Remove front metal panel of air box, after removing windshield
washer reservoir & any other stuff attached. There are a
couple screws on top that are tricky to get out. Use fitting
to mark area just below air intake & cut hole (this is TOUGH
steel) for new straight intake fitting (I installed the fitting
from the back side) & drill 4 holes for retaining screws
& nuts. Install screws & nuts before re-installing panel.
The sheet metal to cover intake will have to be cut & fitted
& bent, then I used screws & nuts to fasten to panel.
Some gap is O.K.--it will only let some outside air in. When
the front panel is off, you can see how the system works &
the air flow pattern changes when the heater is selected--the
damper door drops down & allows air to enter from the heater
core. Good time to check the vacuum actuators inside the box.
On the '76, you can reach the door that opens into the air distribution
duct inside the coach, & replace the foam if you wish (I
didn't think it was an issue--the air doesn't have anywhere else
to go.)
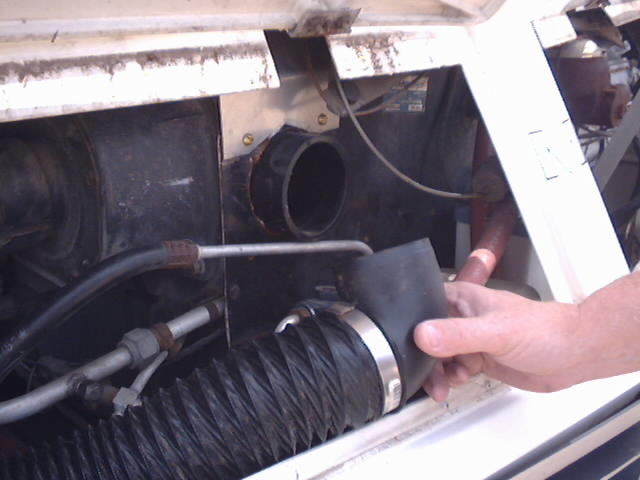
Now, use the other coupling with the quick disconnect to mark
the hole in the defroster vent (this is black plastic & much
easier to cut <G>.) Then, drill the 4 holes for the mounting
screws & install it flush on the front (easy to reach inside
& hold the nuts.) You'll be able to look in the hole &
see the floorboard.
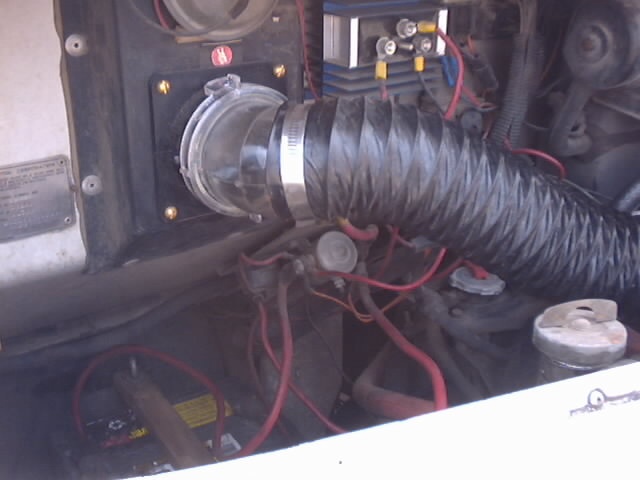
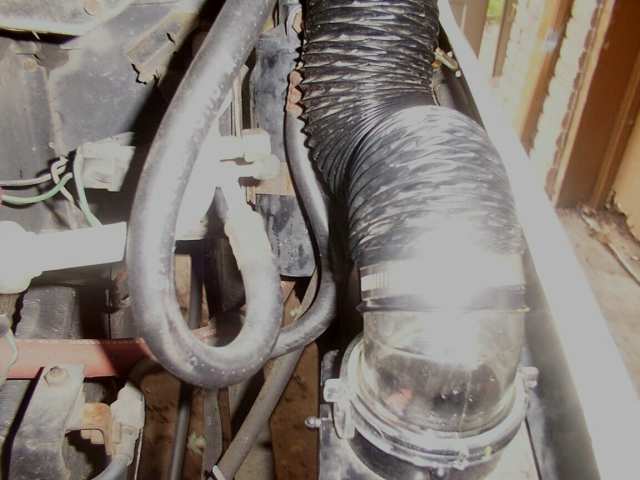
Cut the flexible hose to proper length (leave a little slack)
& attach one end to the clear 45* quick disconnect fitting
& the other end to the 90* straight ended fitting & tighten
hose clamps. Just push the 90* elbow into the fitting on the
air box.
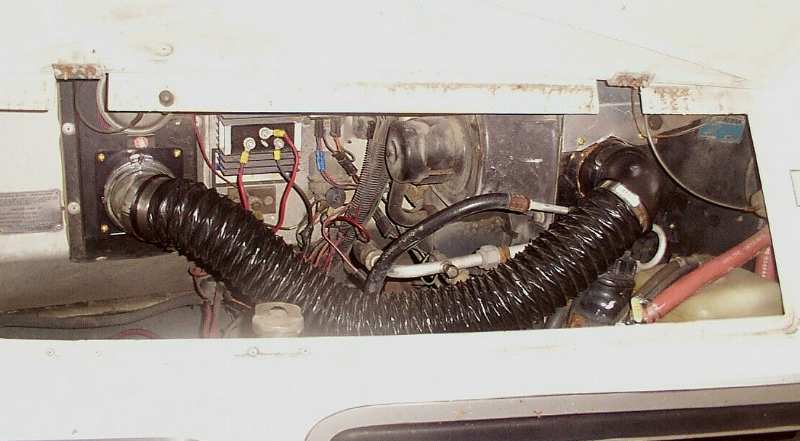
I attached another quick disconnect coupling above the grill
on the inside. I drilled 2 holes for the attachment screws &
mounted it flat side facing down.
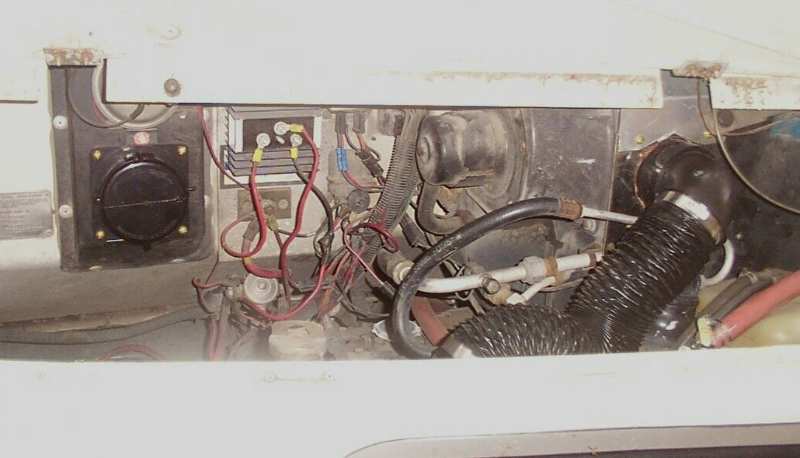
If you want recirculated air, hook the hose to the defroster
fitting. If you wish to restore to original, remove the hose
& hook it to the grill fitting, where it will pick up fresh
air, & put the cover on the defroster quick disconnect--this
will force air up the defroster vent. |